Showing posts with label Decorative Painting. Show all posts

February 24, 2012

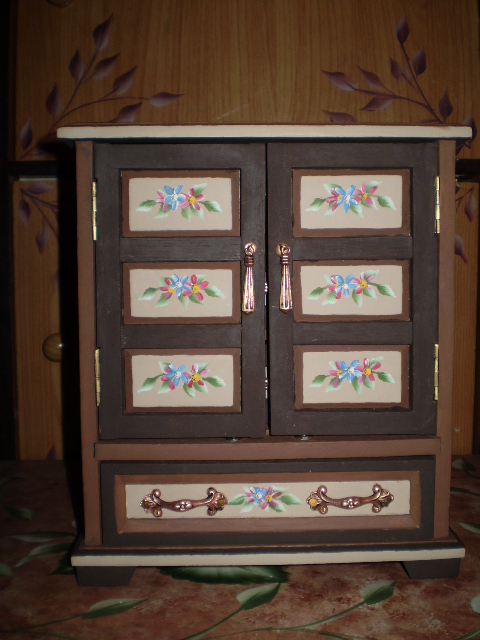
Psst...Look What You Can Do With A 5dollar Second Hand Jewelry Box


I bought this jewelry box for only five dollars and it's a music box as well.

I know it's been awhile since I've posted. first my laptop went out of commission for about a month. I had to replace the motherboard twice. I'm also going back and forth to court pending an eviction...I'm a bit burned out and overwhelmed that I've started to develop a bit of migraine headaches. I'm doing the best I can...I can use lots of positive prayers from all of you.

Enough of  that disappointing news...let's get back to arts and crafts.


It has three extra draws in the inside.


I took off all the handles. Then I sanded down the whole  jewelry box.


I used CLR to get rid of all the gook that was on all the handles.


I began to paint it with acrylic paint.


I started to build on decor painting.


I finally added the flowers.
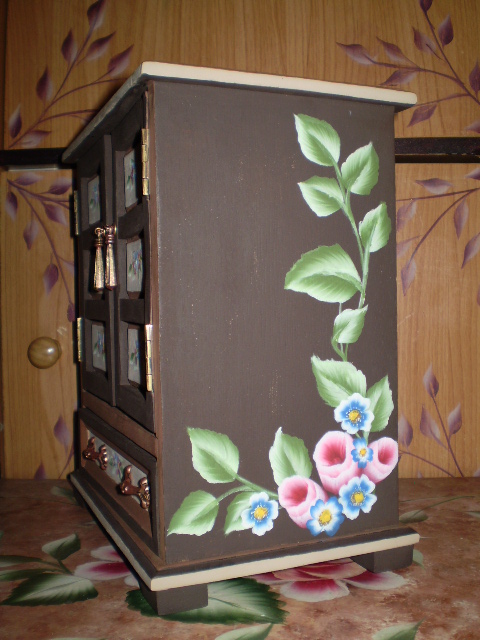


Viola!

I can also use this as a big piece of furniture for a doll that's the right scale for this jewelry box size.


December 28, 2010

Painted Canister Holder & Wine Glass


This is a gift I made for my sister and my mother.
The canister's were actually Bailey's canisters. The canisters were given to me by a friend that works in bar & restaurant...I recycled it by painting them with enamal paint and purchased wine glasses from what use to be a 99 cent store for only $1.19 each. All together I only spent about $4.90...talk about bargin and savings.

I turned two plain objects into elegant decor pieces. 


                                             Tip

The center around the canister of first picture is a piece of art paper...before I placed it on the canister, I painted the paper first with acrylic paint then I stamped it with ink. I then painted flowers over the background. Using Mod Podge, I carefully decoupaged it on the can...I placed the mod podge on the can first a section at a time, placing the paper and pressing as I add mod podge...mod podge will smudge the stamping ink once you start layering it on top of paper...I layered it using one stroke at a time on each section until it dried to prevent ink smudge. Then I gave it another top layer.

There are different kinds of mod podge. I used Mod Podge Gloss Luster by Plaid.
Related Posts Plugin for WordPress, Blogger...